Media catalogue with Astro and Turso
How I keep track of movies, songs, games, and other media I consume. Thanks to Astro's server endpoints, Netlify's functions, and Turso's database.
10 July 2025 — Goulven CLEC'H
The idea
I wanted to keep track of my media consumption — movies, songs, games, books, etc. But I didn’t like any existing dedicated app, like Letterboxd or Goodreads, not only because none offer multi-media support, but also because I absolutely despise the performative bias of such social platforms.1
Contradictorily, I did try to make my own social platform for media logging, first called BetterBoxd then ArtKeepr, with Elixir and Phoenix… Before I realized that maintaining a social platform was the last thing I wanted. But there were some good ideas worth noting:
- A unique schema for all artworks (movies, songs, books, etc.) and artists (actors, musicians, authors, etc.), with support for multiple artists per artwork, sub-artworks (like seasons for TV shows or DLC for games), and so on;
- Using Elixir’s behaviours to define a common interface for all source APIs (like TMDB for movies, Spotify for music, etc.), similar to my « Bridging industry-specific CRMs » blog entry;
- Private profiles by default, with a friend-only feed, and no like counts. I also implemented an admin dashboard and basic reporting system;
- An « emotion-based rating system »TM… which I will talk about later 👀
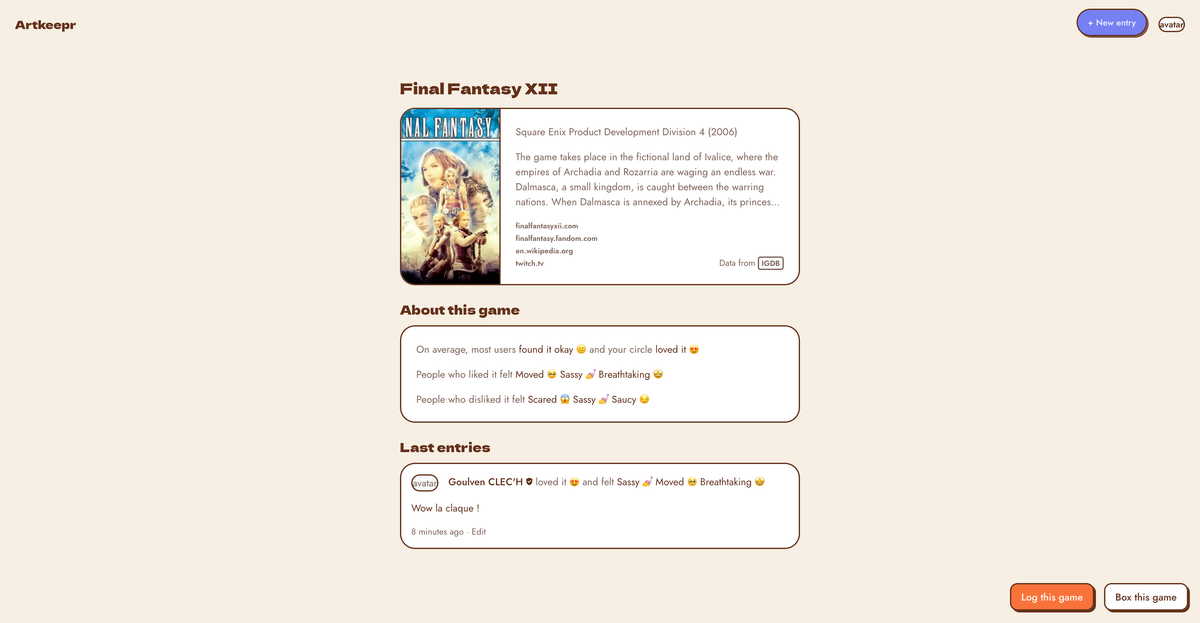

But the answer came from my friend ![]() Erika, who launched her own catalogue in 2019, and has been continually upgrading it since. She supports video games (IGDB), movies (TMDB), shows (TMDB), and books (Open Library), with a simple notation system from « masterpiece » (5/5) to « hated » (0/5) represented by emojis.
Erika, who launched her own catalogue in 2019, and has been continually upgrading it since. She supports video games (IGDB), movies (TMDB), shows (TMDB), and books (Open Library), with a simple notation system from « masterpiece » (5/5) to « hated » (0/5) represented by emojis.
She added a password-protected form in her Astro blog, which triggers a Vercel function to commit the review data to her GitHub repository. Then, a GitHub action retrieves the media information from the source API and makes a second commit with the enriched data. When the blog is built, all the reviews are converted to a big JSON file, which is used to populate an IndexedDB for fast searches and filters in the public catalogue page.
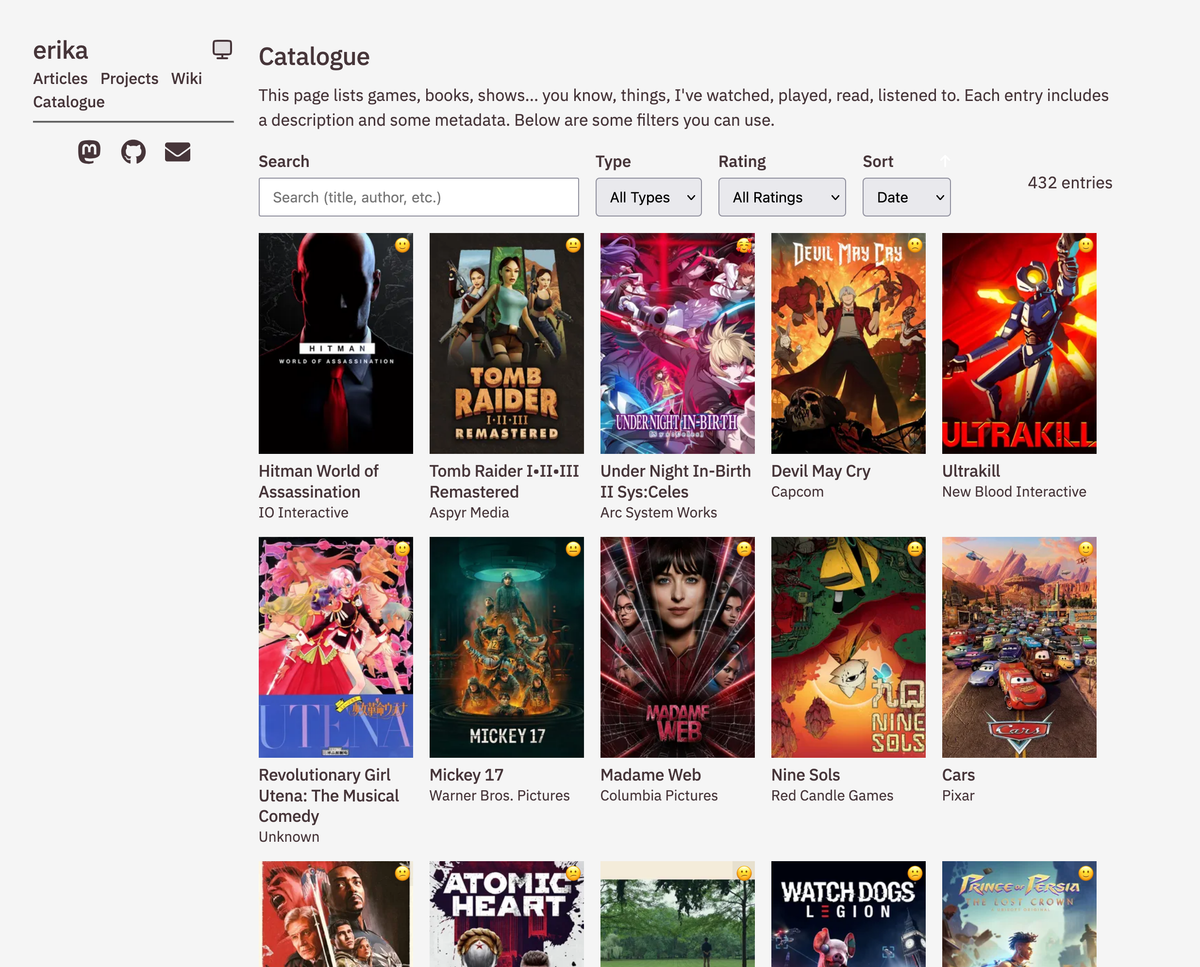
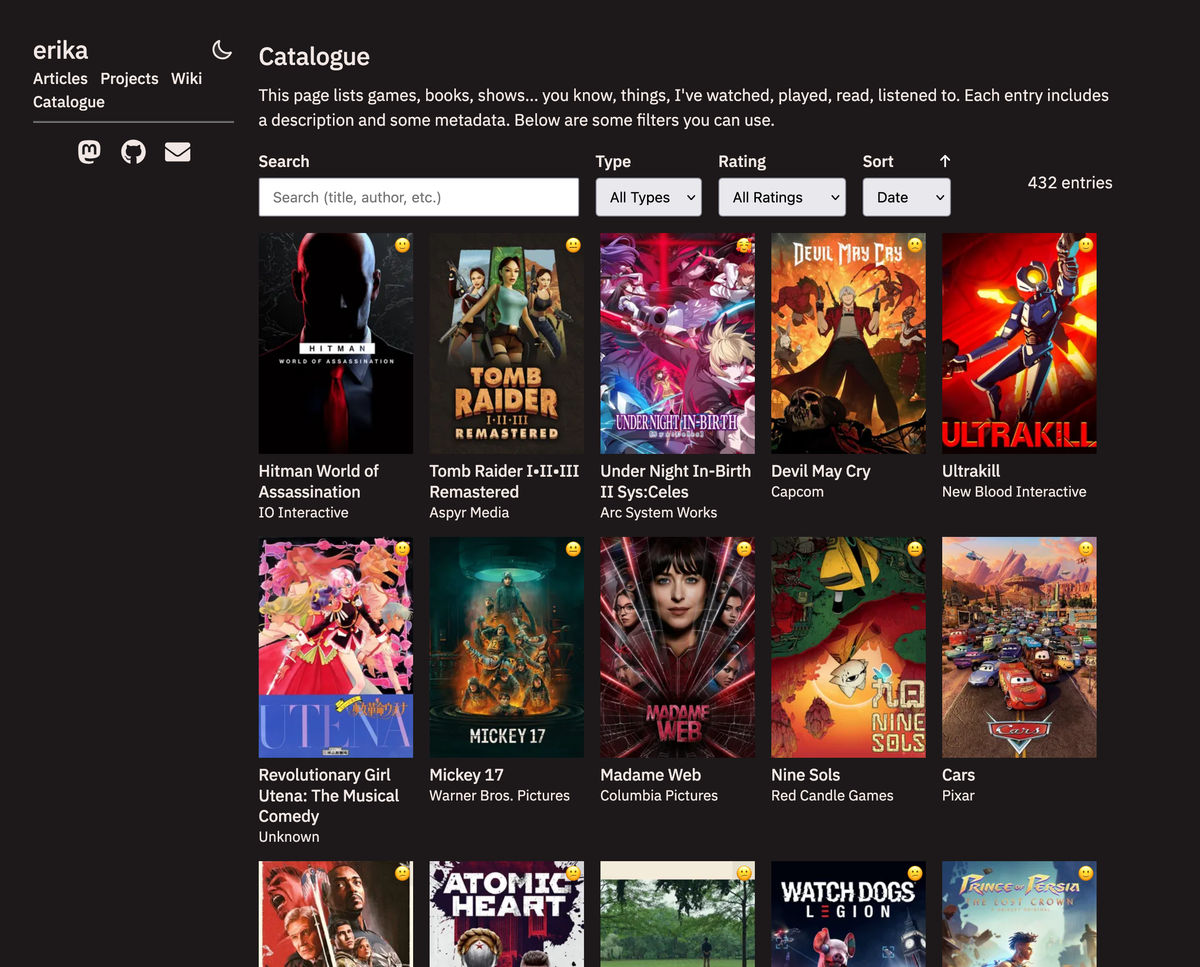
I particularly like the simplicity of her approach, the integration with her blog (making it more of a digital garden), and the intimacy of the personal catalogue—primarily intended for herself, her friends, and the occasional curious reader.
Front-end
Like Erika, my personal website is built with Astro,2 so I just need to create two new pages: a private review form, and a public catalogue page.
It will be an opportunity to refine my design to match my needs. But, as I’m committed to keeping my website’s design coherent, I need to reuse a lot of existing components, or match the existing design when creating new ones.
Cataloguer form
Let’s start with the review form, or the cataloguer as I call it:
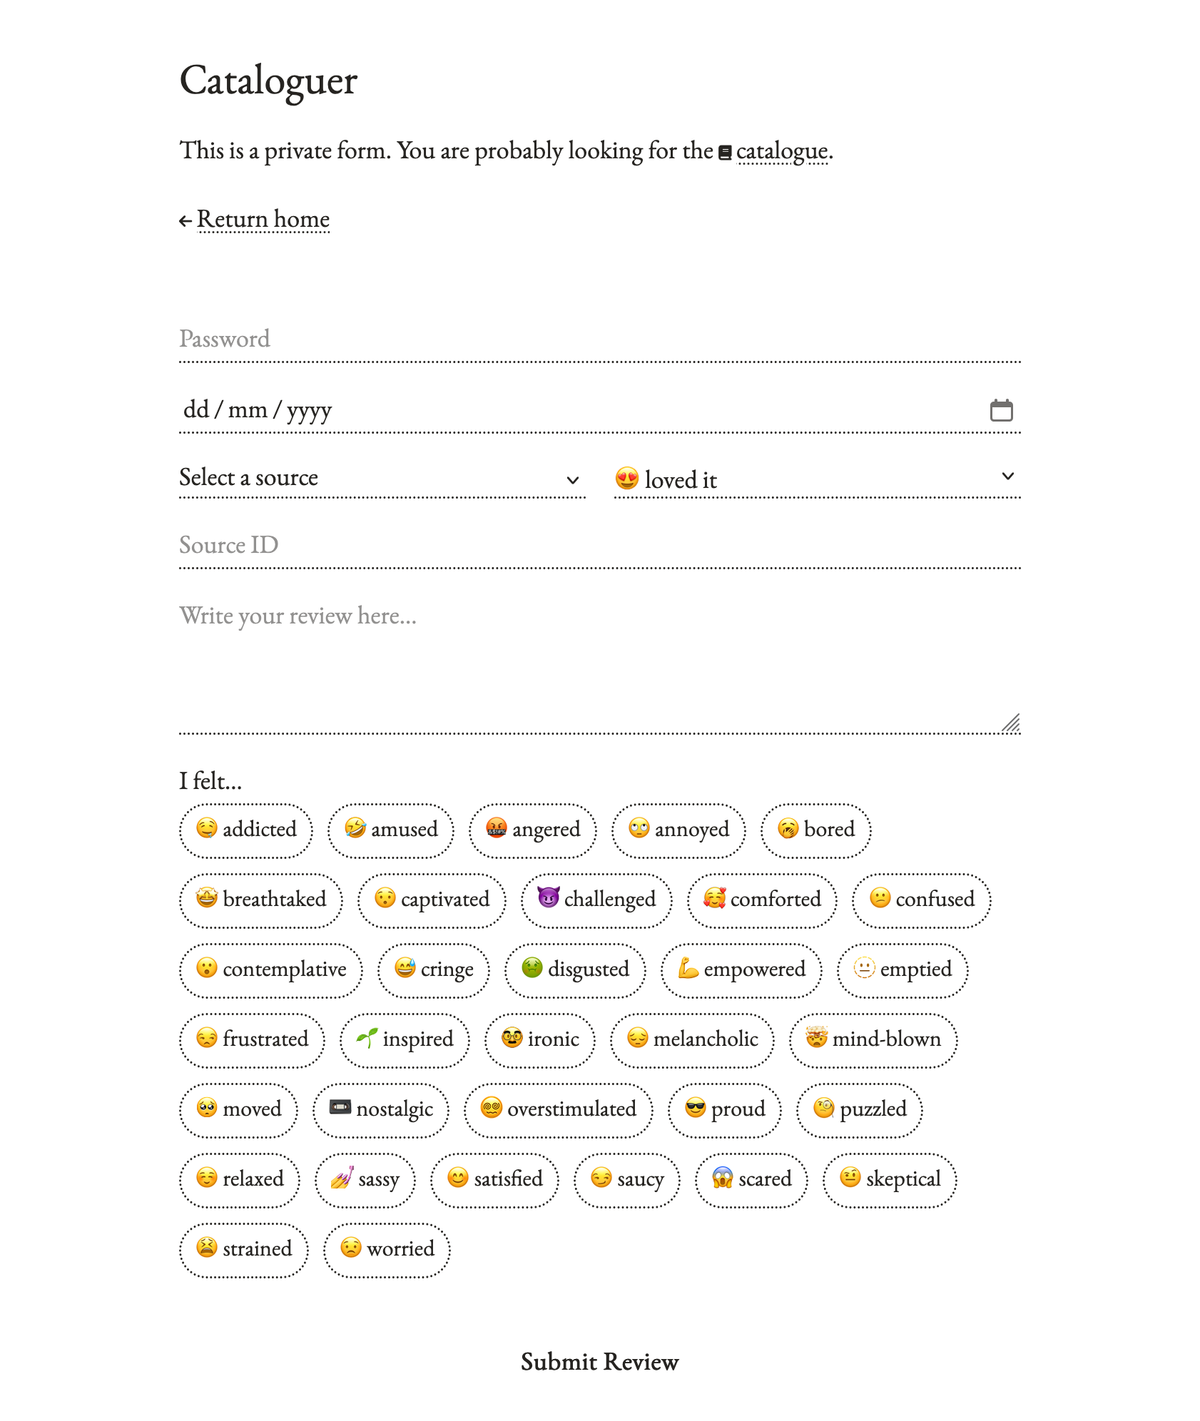
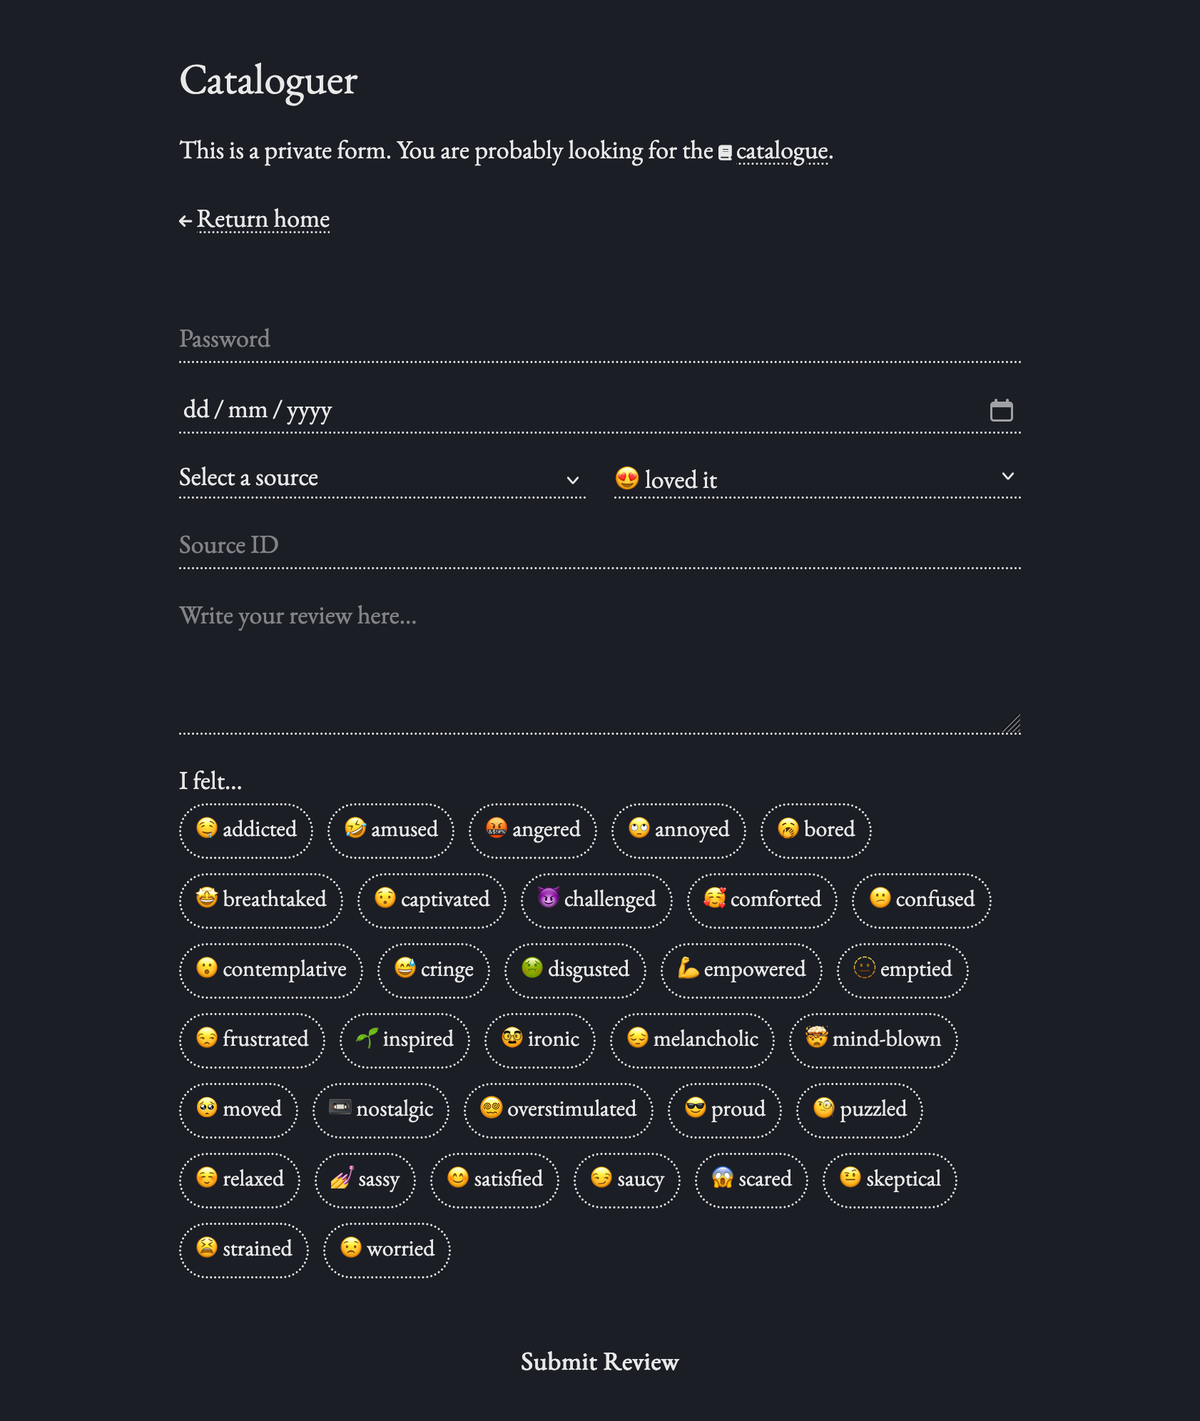
From there, I have a simple form with inputs styled with my signature dotted borders and red color (when active), similar to the search bar already used in my website.
date type) to record when I consumed the media. Helps me remember when I consumed the media, while allowing retroactive reviews.
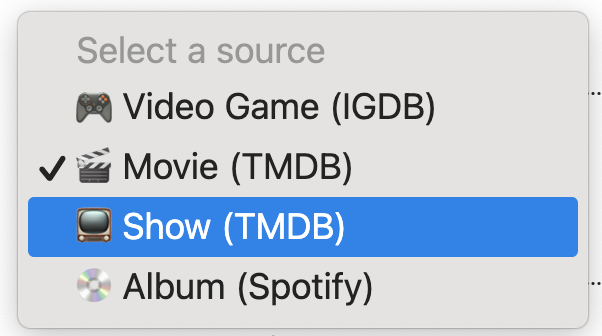
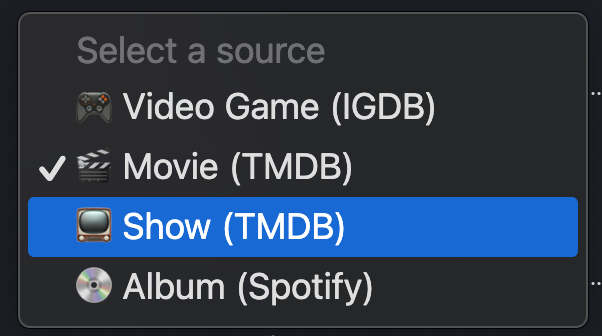
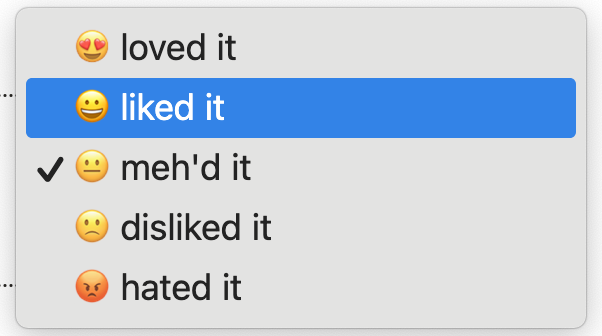
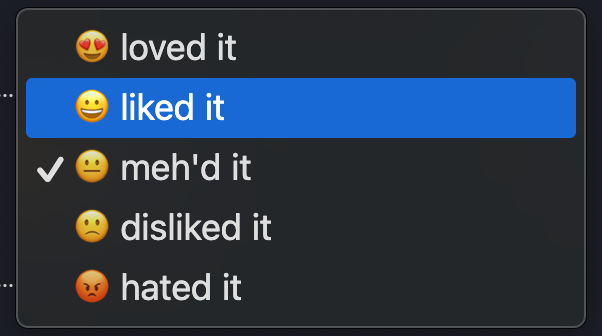
<textarea>, where I can write my review. I try to stay concise, but I also want to fully express my thoughts about the media. This is not only a rating explanation for the reader, but also a way for me to remember my feelings about the media, even years later.

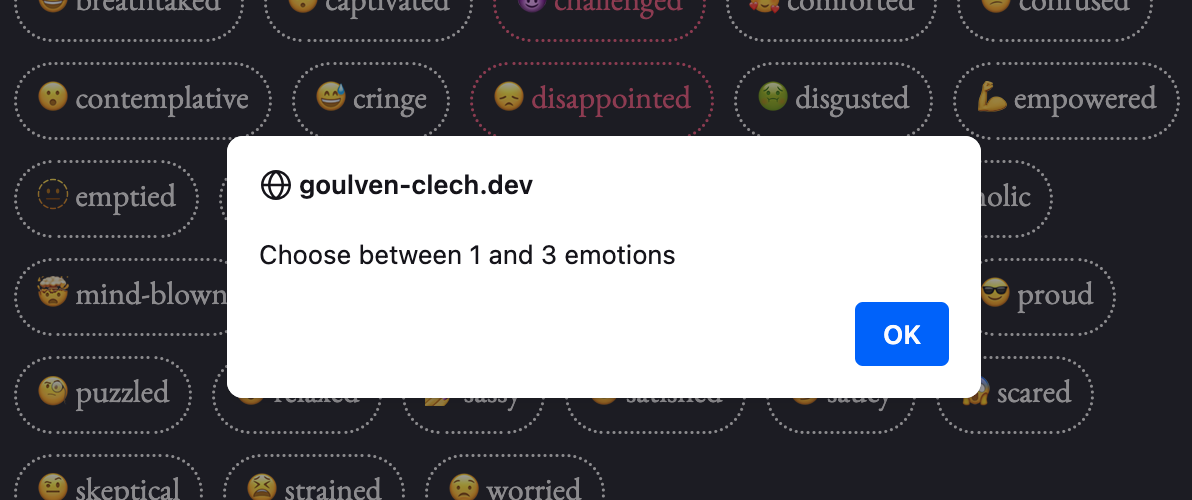
Catalogue page
Let’s now look at the catalogue page, where all my reviews are listed:
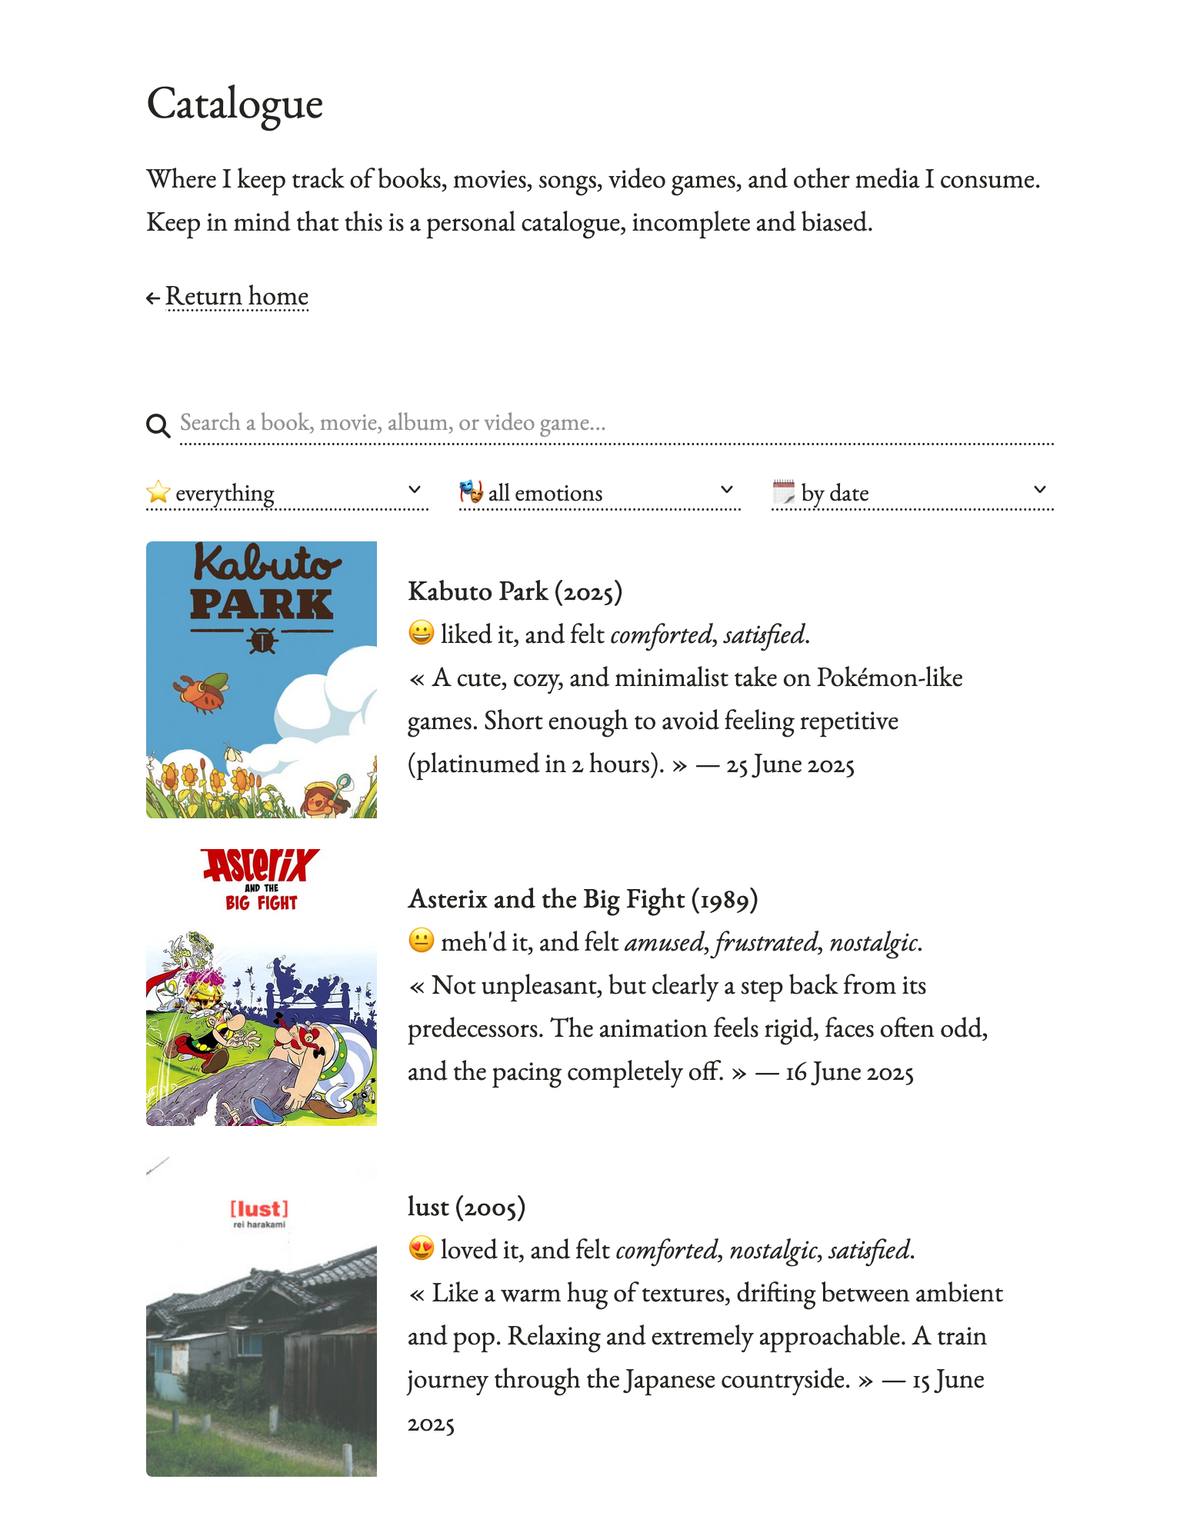
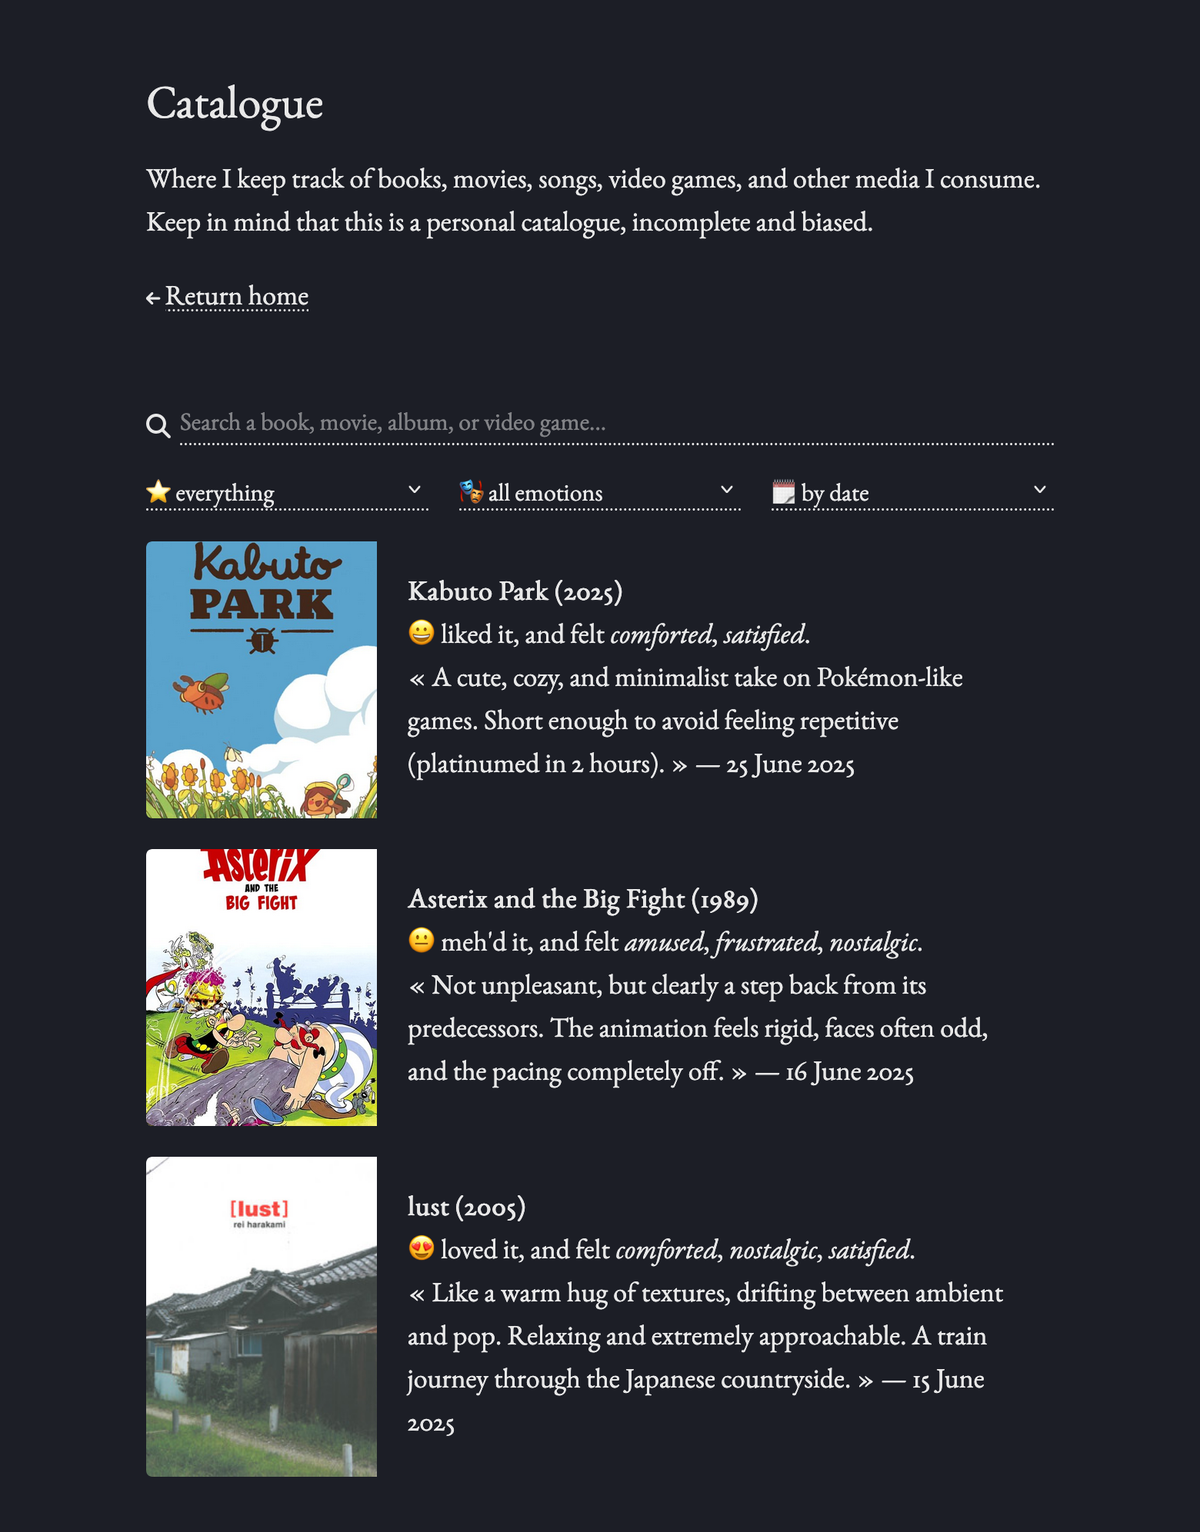
meta field.
The search form is completed by three selects: the first one allows me
The last select


Web components
Most of my website is built with Astro components, including both catalogue pages. But they are designed for build-time rendering, meaning they compile to static HTML during the build process, and can’t be dynamically manipulated in the browser after the page loads. It’s great for static content and performance, but it doesn’t work for my catalogue page, which needs to dynamically update the reviews based on user interactions like search, filter, and sort.
The common solution would be using Astro’s Islands Architecture, allowing us to use components from any JavaScript framework like React or Vue. Client Directives like client:load or client:idle can hydrate these components on the client side, making them interactive after the page loads.4 This is a great way to add interactivity to Astro pages, without sacrificing performance on the static initial page load.
In my case, I don’t really need a full framework. There is no complex state management, no need for a virtual DOM, and most importantly, I don’t really like any of the existing frameworks. So I decided to build my own Web Components, a more native solution that works in all modern browsers without any additional dependencies or runtime overhead.5
ReviewCardSkeleton component.The heart of the system is the ReviewCard web component. It extends HTMLElement and knows how to render itself when given review data and an emotions map:
export class ReviewCard extends HTMLElement {  private review: Review | null = null  private emotionsMap: Map<number, Emotion> = new Map()
  setReviewData(review: Review, emotionsMap: Map<number | string, Emotion>) {    this.review = review    this.emotionsMap = emotionsMap as Map<number, Emotion>    this.render()    return this  }
  private render() {    // HTML template goes here  }}
In the Astro page, I start with a skeleton loader to show something while the data loads. This provides immediate visual feedback and prevents layout shift when the real content arrives:
<div id="reviews-container"> <ReviewCardSkeleton /></div>Once the page loads, a client-side script takes over. It first fetches the emotions list (needed to map emotion IDs to their names and emojis), then loads the initial reviews:
document.addEventListener("DOMContentLoaded", async () => { await loadEmotions() // Populates the emotion filter and builds the map await loadReviews() // Fetches and displays the initial reviews setupFilterListeners() // Attaches event handlers to the form})The loadReviews function handles the heavy lifting. It clears the container, shows a loading skeleton, fetches data from our API endpoint, then creates ReviewCard instances for each review:
reviews.forEach((review) => { const reviewCard = new ReviewCard() reviewCard.setReviewData(review, allEmotionsMap) container.appendChild(reviewCard)})Form interactions are handled through event listeners. The search input uses a debounced input event to avoid hammering the server with every keystroke, while the select dropdowns trigger immediate updates on change. All filters update the URL parameters, making the current view shareable and bookmarkable.
To handle edge cases gracefully, I created two additional components. ReviewsEmpty shows a friendly message when no reviews match the current filters, while ReviewsError displays when something goes wrong with the API request.
To help AI agents crawl my catalogue, I added a LLM-friendly version, with all reviews in a text format. In general, I’ll try to make my content more accessible to machines in the future.
Back-end
While I admire Erika’s approach, I had different priorities for my implementation.
First, I wanted a more traditional architecture with a static front-end ↔ a back-end server ↔ a database, rather than generating GitHub commits for each review. Second, although I appreciate the performance benefits of local-first architecture, I decided to keep things simpler for now and skip that complexity. Finally, I wanted to integrate the catalogue API directly into my website’s codebase, allowing me to deploy everything together my existing hosting provider (Netlify).
Turso database
While I wanted a database solution, I didn’t want to deal with the hosting costs and maintenance burden of traditional databases like PostgreSQL or MySQL. They’re designed for complex queries, concurrent writes, and multiple users, none of which I need here. MongoDB or other NoSQL solutions don’t fit either, since my data is relational.6 What I really need is something simple, lightweight, and fast for read-heavy workloads.
SQLite is perfect for this use case. It’s a file-based database that requires no server, handles thousands of reads per second, and has excellent JSON support for semi-structured data. But deploying it on serverless platforms like Netlify comes with a catch: you can’t write to the filesystem, and even if you could, those writes wouldn’t persist between function invocations.
Enter Turso, which takes SQLite and makes it work in the cloud. Built on libSQL (a fork of SQLite), Turso adds a networking layer over it, allowing you to access your database over HTTP from serverless functions. It’s edge-hosted7 and distributed,8 with a generous free tier: 5GB of total storage, 100 databases, and 500 million row reads per month.9 They also provide a web interface for managing databases, analytics, logs, etc.
Setting up the database was straightforward. I created two simple tables: one for emotions and another for reviews. The emotions table is minimal:
CREATE TABLE emotions ( id INTEGER PRIMARY KEY, emoji TEXT NOT NULL, name TEXT NOT NULL, is_deleted BOOLEAN DEFAULT false);This allows me to manage my emotion tags dynamically—adding new ones or soft-deleting outdated ones—without modifying any code. It’s also used to populate the emotion selects in the review form and catalogue page, as seen previously.
The reviews table is more substantial:
CREATE TABLE reviews ( id INTEGER PRIMARY KEY AUTOINCREMENT, source TEXT NOT NULL, source_id TEXT NOT NULL, source_name TEXT NOT NULL, source_link TEXT NOT NULL, source_img TEXT, rating INTEGER NOT NULL CHECK (rating >= 1 AND rating <= 5), emotions TEXT NOT NULL, -- JSON array of emotion IDs comment TEXT, meta TEXT, -- See side note 10 inserted_at TEXT NOT NULL);meta field is used to store additional metadata to be used by the search engine. Like the studio name, main authors and actors… But also alternative titles or abbreviations, like « MGS » for « Metal Gear Solid ».I chose to store emotions as a JSON array rather than using a junction table. Mainly for simplicity, but also because SQLite’s json_each function makes filtering by emotion surprisingly elegant.11buildSelectQuery function in my reviews endpoint, where I use EXISTS with json_each to check if a specific emotion is present in the array.
Connecting to Turso from Astro is simple with the @libsql/client package. I just need to provide the database URL and token from environment variables:
const client = createClient({ url: import.meta.env.TURSO_URL, authToken: import.meta.env.TURSO_TOKEN,})From there, querying is as straightforward as calling client.execute() with SQL and parameters.
Astro server endpoints
By adding a simple export const prerender = false at the top of a .ts file, Astro allows you to create server endpoints alongside your pages, making it easy to build full-stack applications without a separate backend. These endpoints can handle HTTP requests and return JSON, HTML, or any other format—perfect for creating a simple API to interact with our Turso database.
I created two endpoints: /api/catalogue/emotions and /api/catalogue/reviews. The emotions endpoint simply fetches all active emotions from the database and returns them as JSON:
export async function GET(_context: APIContext): Promise<Response> {  const client = createClient({    url: import.meta.env.TURSO_URL,    authToken: import.meta.env.TURSO_TOKEN,  })
  const emotions = await client.execute("SELECT * FROM emotions WHERE is_deleted = false")
  return new Response(JSON.stringify(emotions.rows), {    status: 200,    headers: {      "Content-Type": "application/json",      "Cache-Control": "public, max-age=86400, immutable", // 24h cache    },  })}
Notice the cache header? Since emotions rarely change, I cache the response for 24 hours to reduce database reads and improve performance. This is especially useful when the catalogue page loads emotions for its filter dropdown.
The reviews endpoint is more complex. The GET method handles searches and filters through query parameters:
// Example: /api/catalogue/reviews?query=blade&emotion=2&sort=rating&limit=10Building the SQL query dynamically based on these parameters is the trickiest part. I created a buildSelectQuery function that constructs the appropriate WHERE clauses and joins them with AND. The emotion filtering deserves special attention, since emotions are stored as a JSON array, I need to use SQLite’s json_each function:
EXISTS ( SELECT 1 FROM json_each(reviews.emotions) AS e WHERE e.value = ?)The POST method handles new review submissions. First, it checks the password,12 then validates the input data, and enriches it by fetching metadata from the appropriate source API:
switch (source) { case "IGDB": { const game = await fetchGame(Number(source_id)) source_name = `${game.name} (${year})` source_link = `https://www.igdb.com/games/${game.slug}` // ... } case "TMDB_MOVIE": { const movie = await fetchMovie(Number(source_id)) source_name = `${movie.title} (${year})` source_link = `https://www.themoviedb.org/movie/${movie.id}` // ... } // ... other sources}Each source has its own helper module (like /api/catalogue/sources/tmdb.ts) that handles the specific API authentication and data transformation. This keeps the main endpoint clean and makes it easy to add new sources later.
Netlify functions
Astro is primarily a static site generator, so we need a server adapter for any SSR features, like our server endpoints. Since I’m deploying my website to Netlify, I chose their @astrojs/netlify adapter to convert my server endpoints into serverless functions.13
The adapter configuration in my astro.config.mjs is minimal:
import netlify from "@astrojs/netlify"
export default defineConfig({  // ...  adapter: netlify({    imageCDN: false, // Conflict with my custom image service  }),})
Once deployed, my endpoints become Netlify Functions accessible at the same paths. The /api/catalogue/reviews endpoint becomes /.netlify/functions/api_catalogue_reviews, though Netlify’s proxy makes it accessible at the original path too. This seamless transformation means my local development experience matches production exactly.
The advantages are clear: zero server maintenance, automatic scaling, and a generous free tier (125k requests and 100 hours of run time per month). For a personal catalogue that might get a few hundred requests daily, this is more than sufficient. The functions also integrate well with Netlify’s environment variables, making it easy to manage secrets like my Turso credentials and API keys.
However, there’s one significant limitation on the free tier: all functions run in a single region (US East, Ohio).14 This means users in Europe or Asia might experience slightly higher latency compared to a truly edge-deployed solution.
For my use case, this trade-off is acceptable. The catalogue isn’t a real-time application where every millisecond counts, and the simplicity of deployment outweighs the latency concerns. Plus, aggressive caching on both the client and server side helps minimize the impact.
Conclusion
I’m really happy with the result. Since my catalogue release in April 2025, I use it regularly, and even retroactively reviewed some of my past media consumption. It’s been a great way to reflect on my media consumption habits, remember old favorites, or start conversations with friends.
Also, I wonder if it couldn’t be a tool to change my habits? I’ve almost completely stopped reading books since my university years, so adding support for books (through Open Library) could help me come back!
I’m also considering improving the source ID input to allow searching by title directly through the source APIs, similar to Erika’s implementation. Though this would need to be password-protected and require a thoughtful UI design, it could make the reviewing process even smoother.
While I’m working on these improvements, you can already browse my catalogue and see how everything turned out!